Gas (CO2) Side
The gas side of a draught system is used primarily to push the beer out of the keg with carbon dioxide. CO2 (carbon dioxide) protects the beer from off-flavors created when oxygen interacts with flavor and aroma compounds in the beer. If you’ve ever had beer from a hand-pumped keg, then tried to drink from the same keg the next day, you’ve noticed how the flavor of the beer changes for the worse.
By using a CO2 tank (affiliate link) to provide pressure, you prevent air and oxygen from getting in contact with the beer, preserving the beer’s deliciousness. And also, you don’t have to use a hand pump to pour beer.
Homebrewers Need Extra
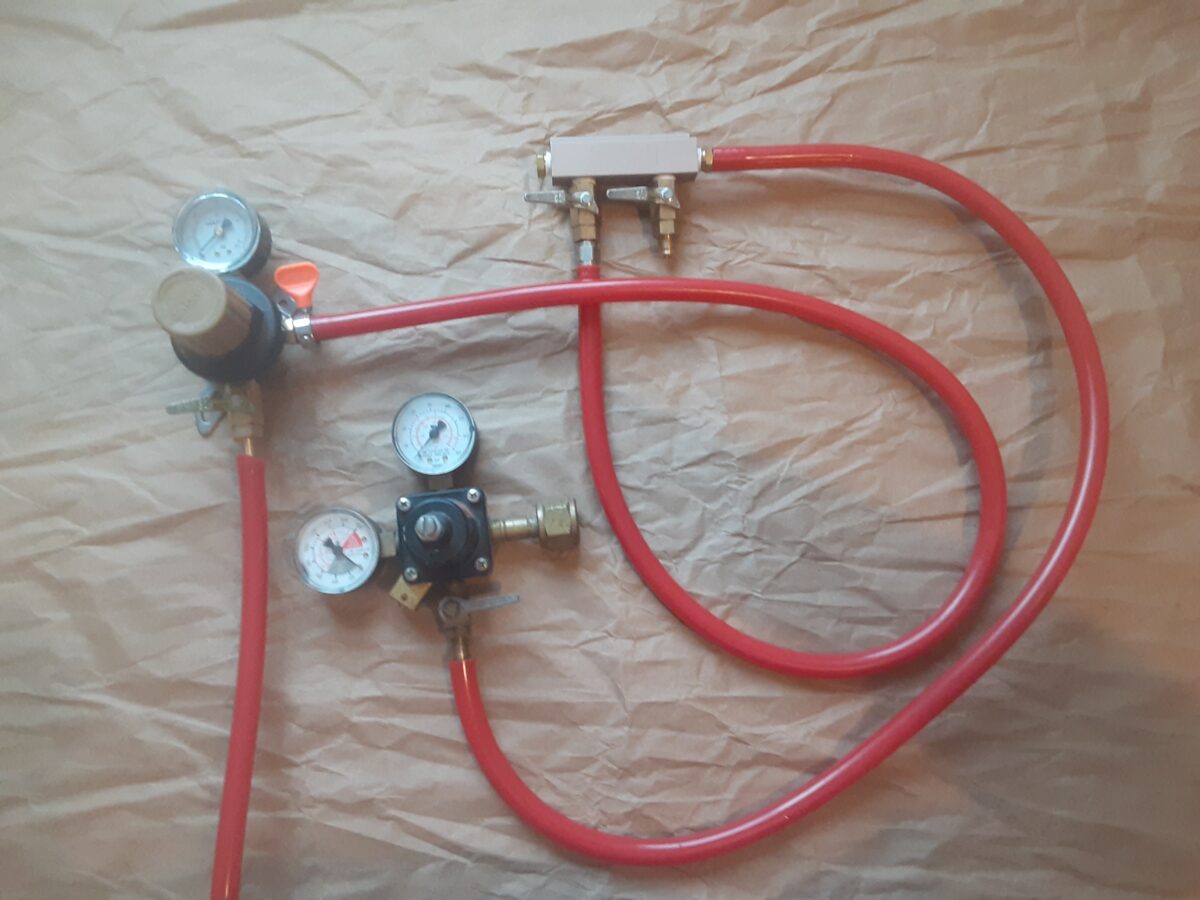
If you are just pouring beer, the gas side of your draught system just needs to push the beer out of the keg to your glass. Most people can just have one primary regulator (affiliate link) set to serving pressure, then add a manifold (affiliate link) to split the gas line to as many kegs as you have. If you know you need more than one serving pressure, you can see the notes further down for homebrewers, as your needs are more similar to our needs.
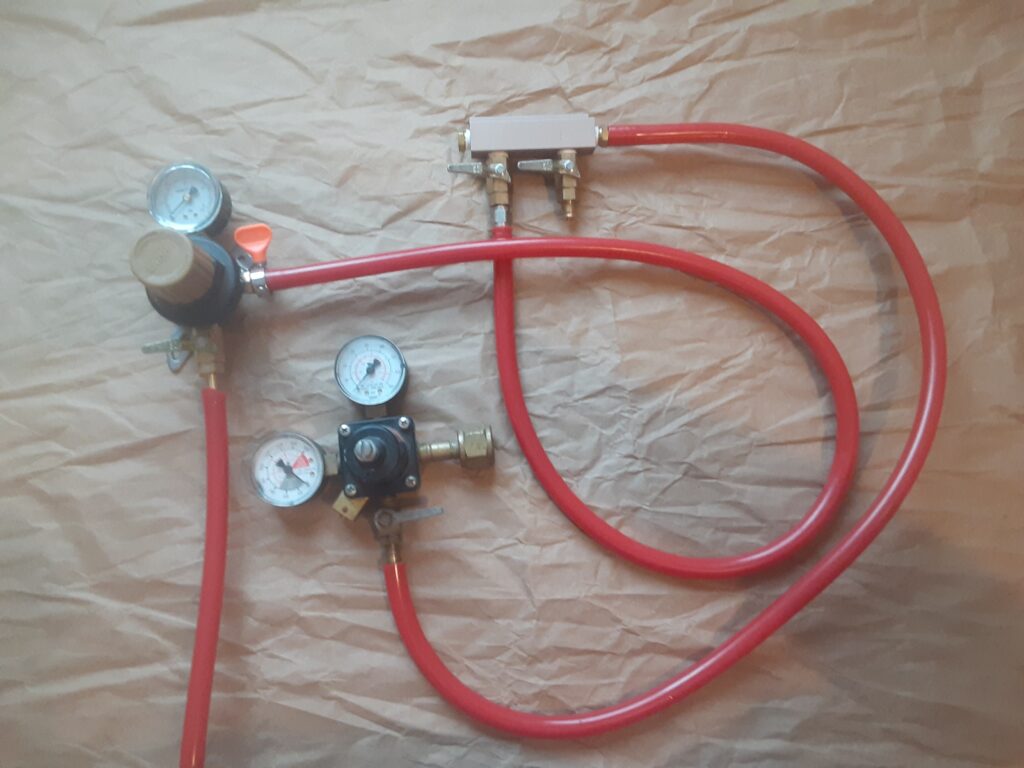
Homebrewers also use their draught system to carbonate their beer in the keg.
The main difference is that if you are serving commercial beers, you can generally serve more than one beer at the same pressure. But to speed the carbonation process, it is nice to have a secondary regulator (affiliate link) you can leave at serving pressure and have the primary regulator set higher to carbonate the keg more quickly.
Hidden from View
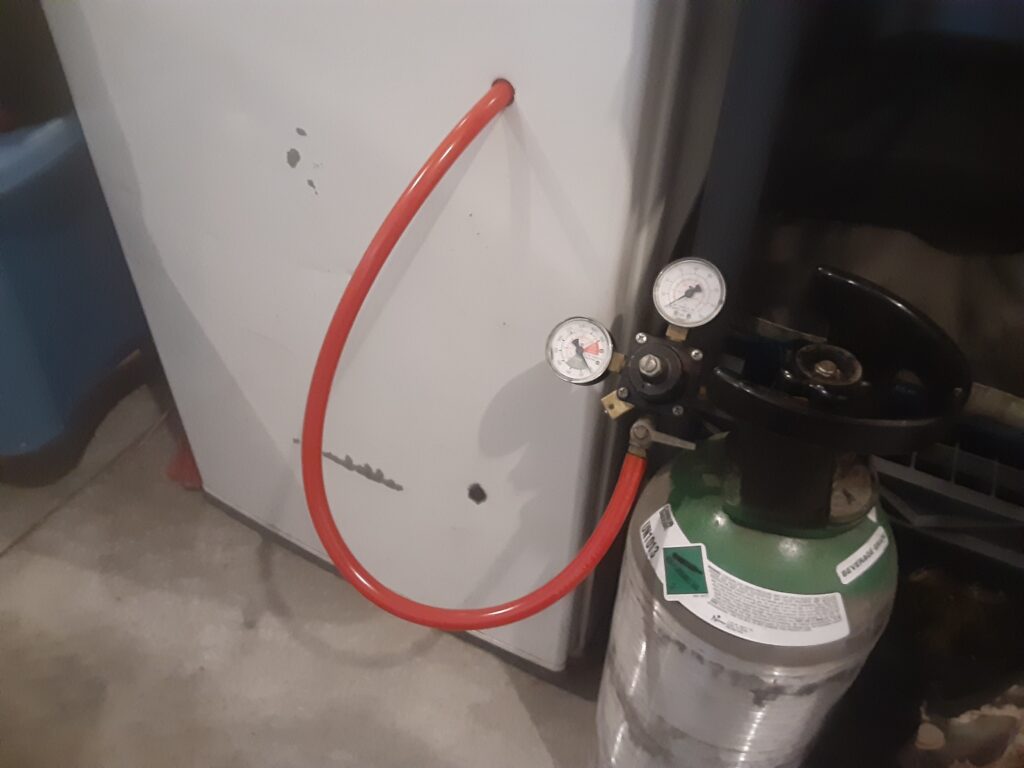
Unlike the liquid side, which has the faucet and tap handle readily visible, many people try to keep the gas side of their draft system out of view. If their converted chest freezer or refrigerator is large enough, some people choose to keep their CO2 tank (affiliate link) in their kegerator next to the kegs. Others add a hole to run the gas line from the tank through the wall or door of their kegerator to free up space for more kegs, as I did in the photo below.
Quick Disconnects
The connection between the gas system and your kegs depends on the type of kegs you use. Homebrewers choose between ball lock kegs or pin lock kegs. In the photo below, you can see I use MFL connections on my hoses so I can switch between ball lock and pin lock kegs.
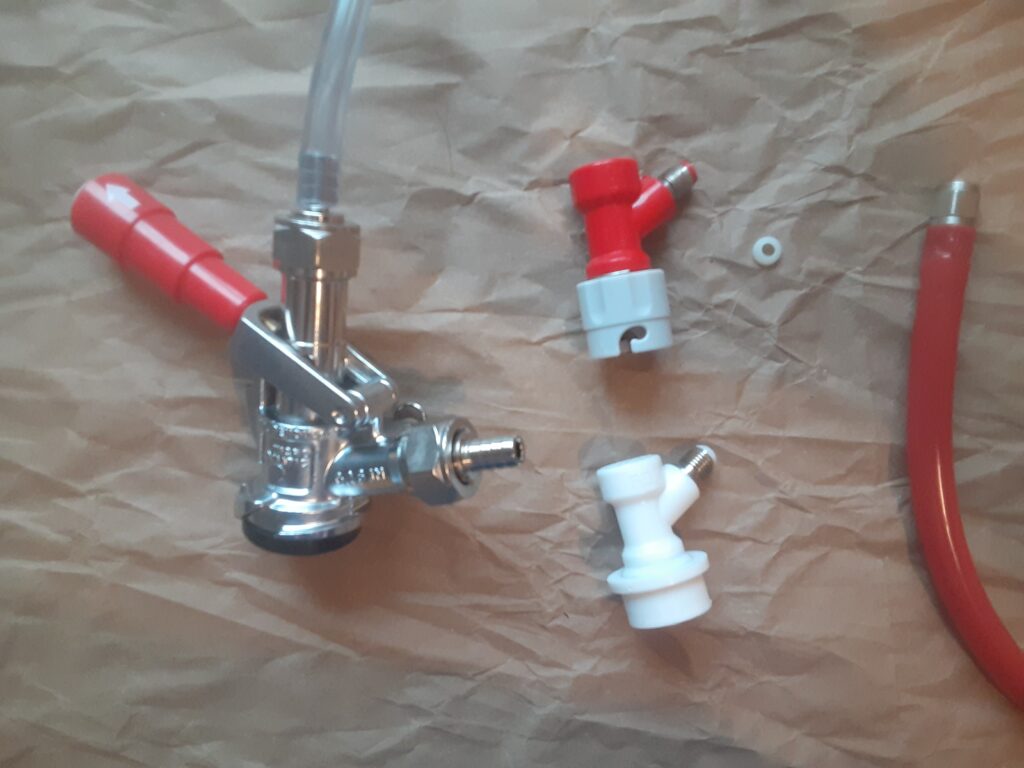
Ball lock kegs and ball lock quick disconnects were used by Pepsi for distributing full kegs of their sodas to restaurants before the current use of concentrates. In a similar way, pin lock kegs and pin lock quick disconnects (affiliate link) were used by Coca Cola. They used different connectors to prevent their customers from switching to their competitors products without needing to replace their whole serving system.
Sanke couplers (affiliate link) are used by commercial breweries, and actually combine both gas and liquid into one connector rather than the two needed for Cornelius-style kegs used primarily by homebrewers.
Tying it All Together
Throughout this article, I’ve shown you all of the separate components that connect to kegs, tanks, and each other. But connecting all of them, you’ll need 5/16″ gas line (affiliate link).
These are the components you’ll need for a CO2 system to set up a kegerator tap system to pour draft beer. If you have questions, please post them below.
#BrewUpAnAdventure
