Unexpected Bounty Leads to Homemade Wine

Discovery

When you buy a house in the middle of winter, you take a lot of things on faith: the yard will look reasonably similar to the features of the snow; the buried section of roof will look somewhat like the portions visible under the eaves; and there will be some things you never expected.

More Rhubarb than a family can use? Or wine-in-waiting?We closed on our new home in February, intrigued by what was lurking beneath the snow. Little did we know there was a trophy-class rhubarb garden. With 14 plants in one section and a lone monster guarding the other side of the yard, there was more rhubarb than our family of four could eat.

All that rhubarb called out to be used, but what could we do with it? In order to make rhubarb enjoyable, you must use so much sugar we were tiring of the sweetness. Plus, that much sugar adds to the waistline.

I Can Ferment That

Rhubarb to prepareLast year I purchased the Winemaker’s Recipe Handbook from my local homebrew supply shop. Armed with that recipe, some tips from Beverage Artisan and a whole mess of rhubarb, I set out to make some rhubarb wine.

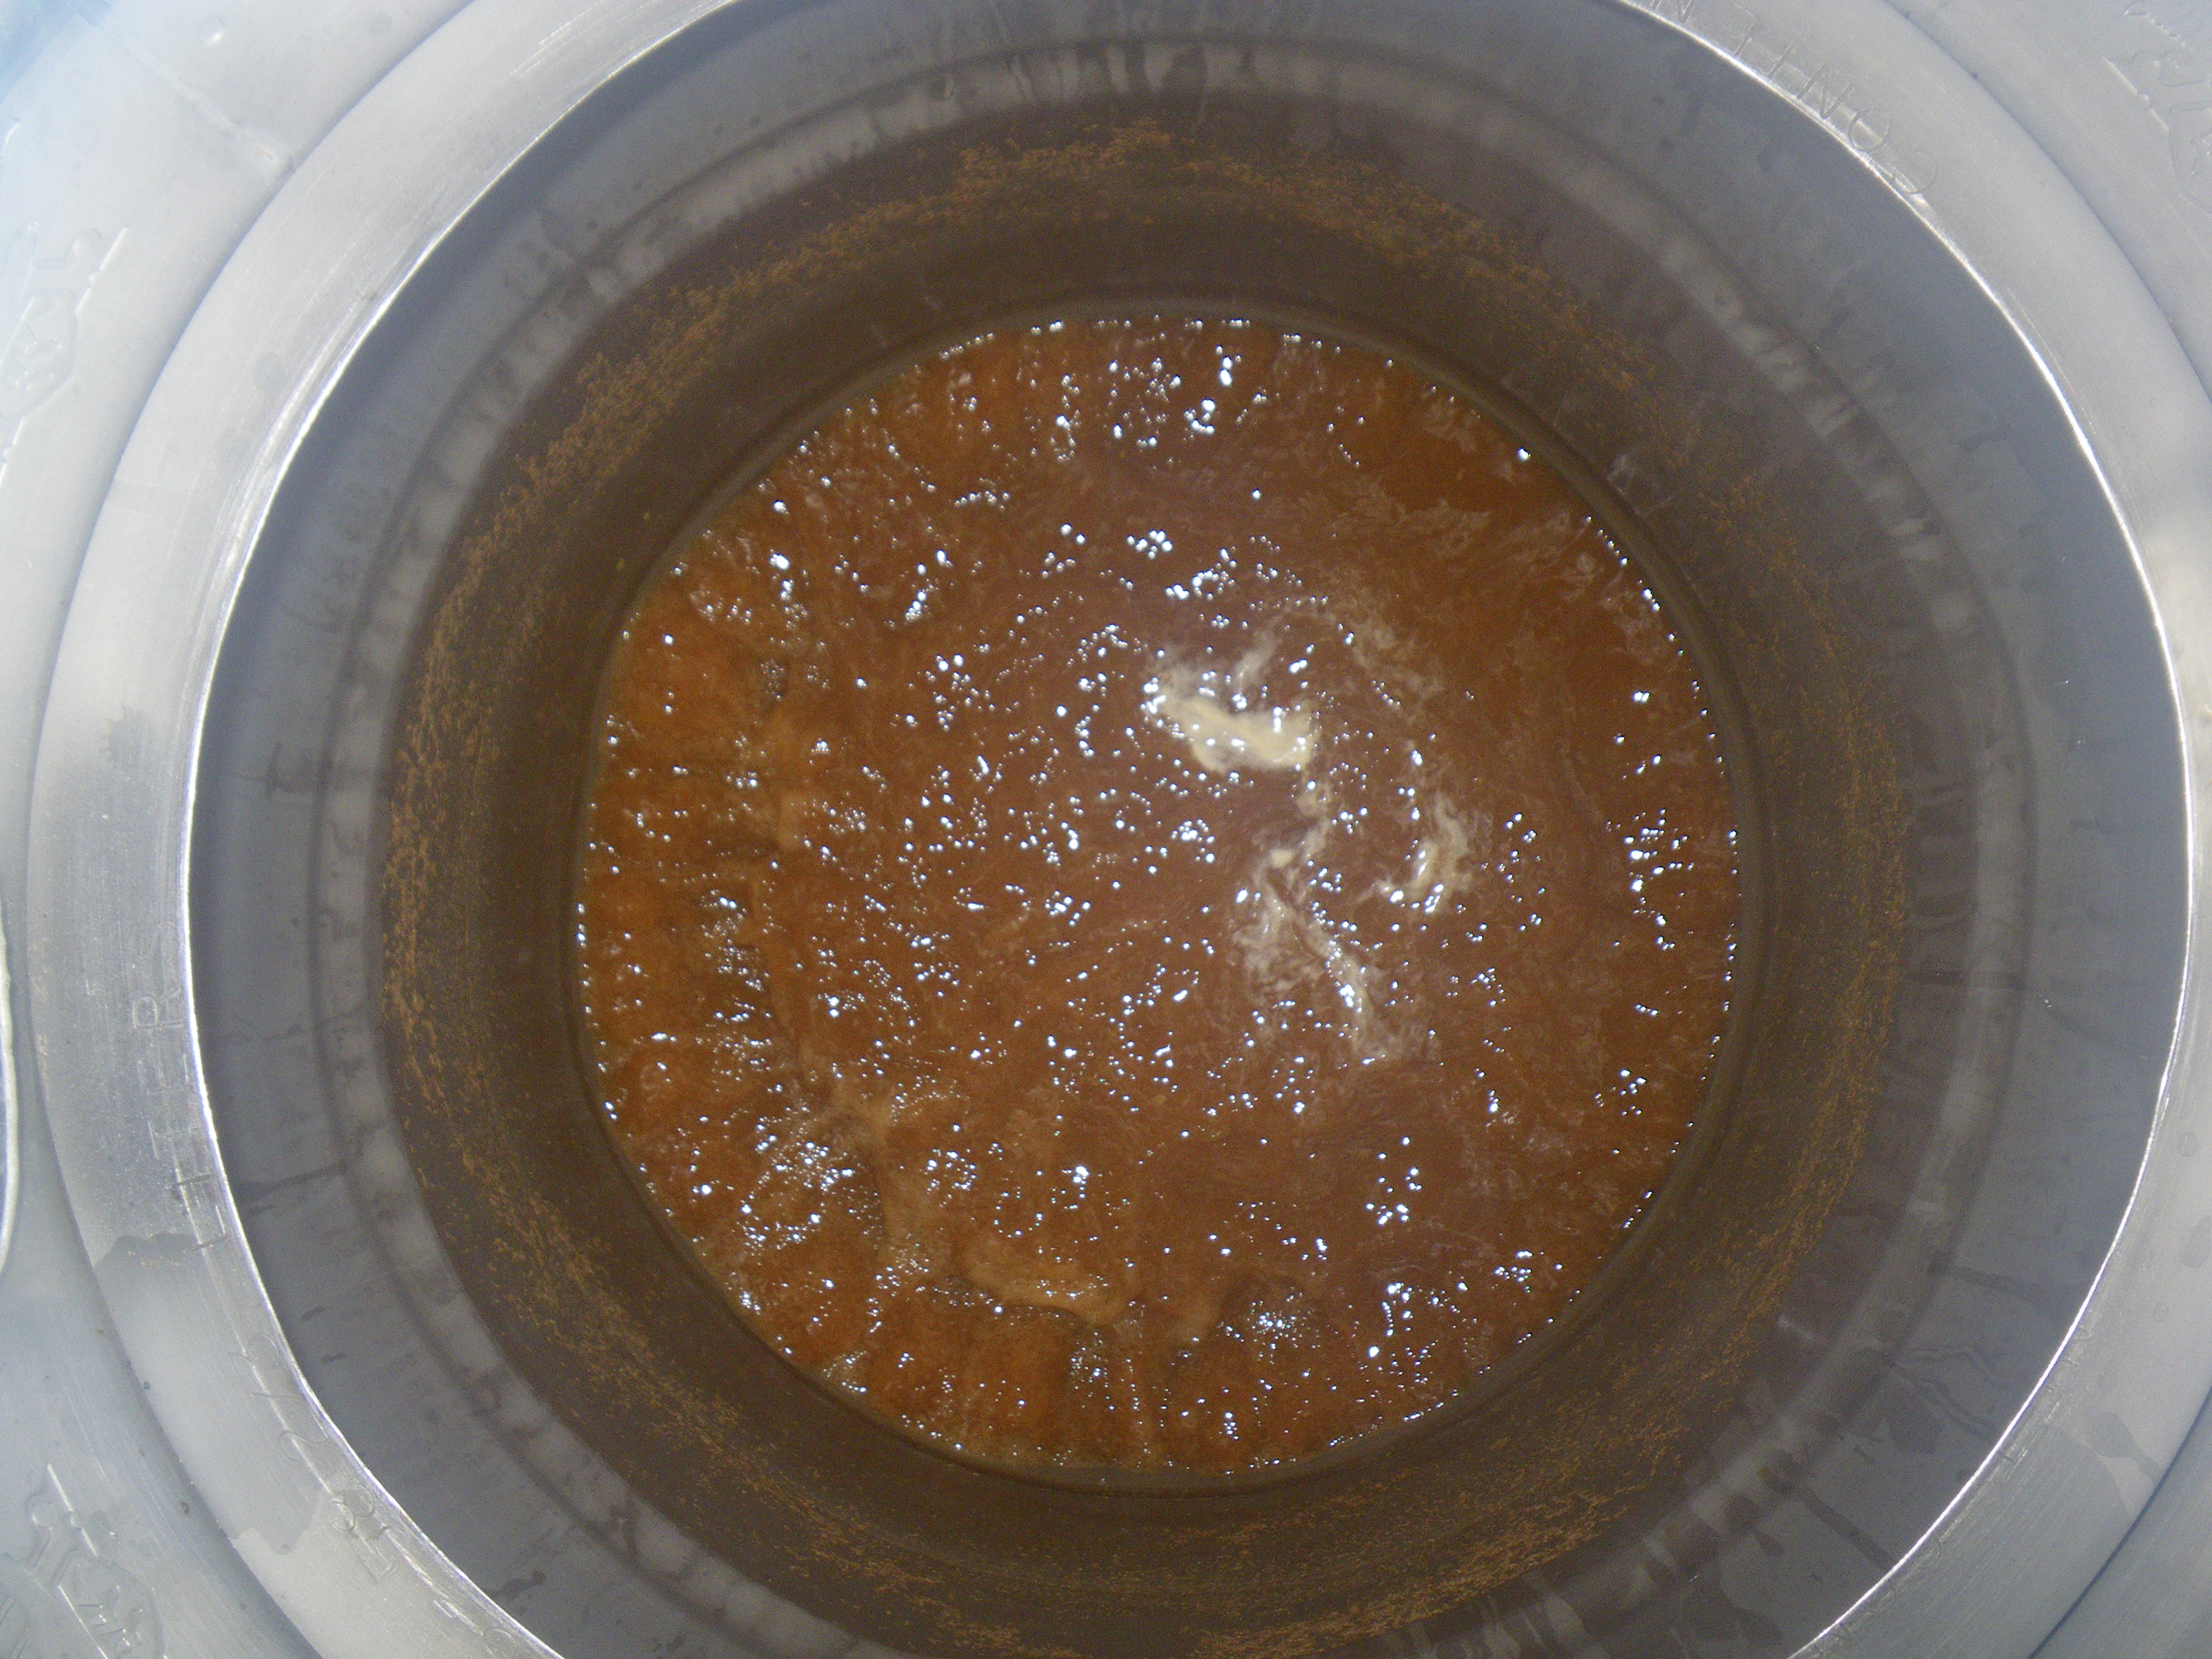
I merged the recipe from the book with some tips from Doug to develop my own homemade wine recipe. Never having made wine before, I have no idea how this will turn out, but the must smells awesome!

Recipe

Ingredients

5 lb 4 ounces of rhubarb

4 lb sugar

1 teaspoon citric acid

1/2 teaspoon tartaric acid

1/4 teaspoon tannin

1 gallon water

1 Campden tablet

1 teaspoon yeast nutrient

1 Camden tablet, crushed

Process

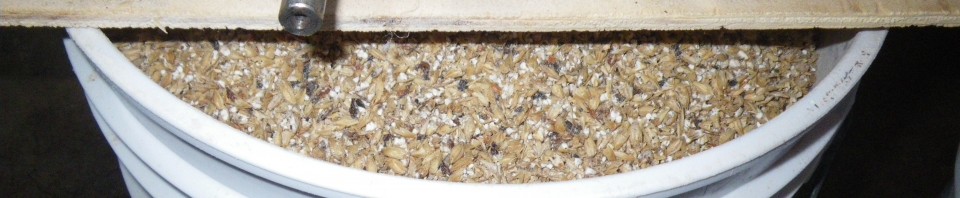
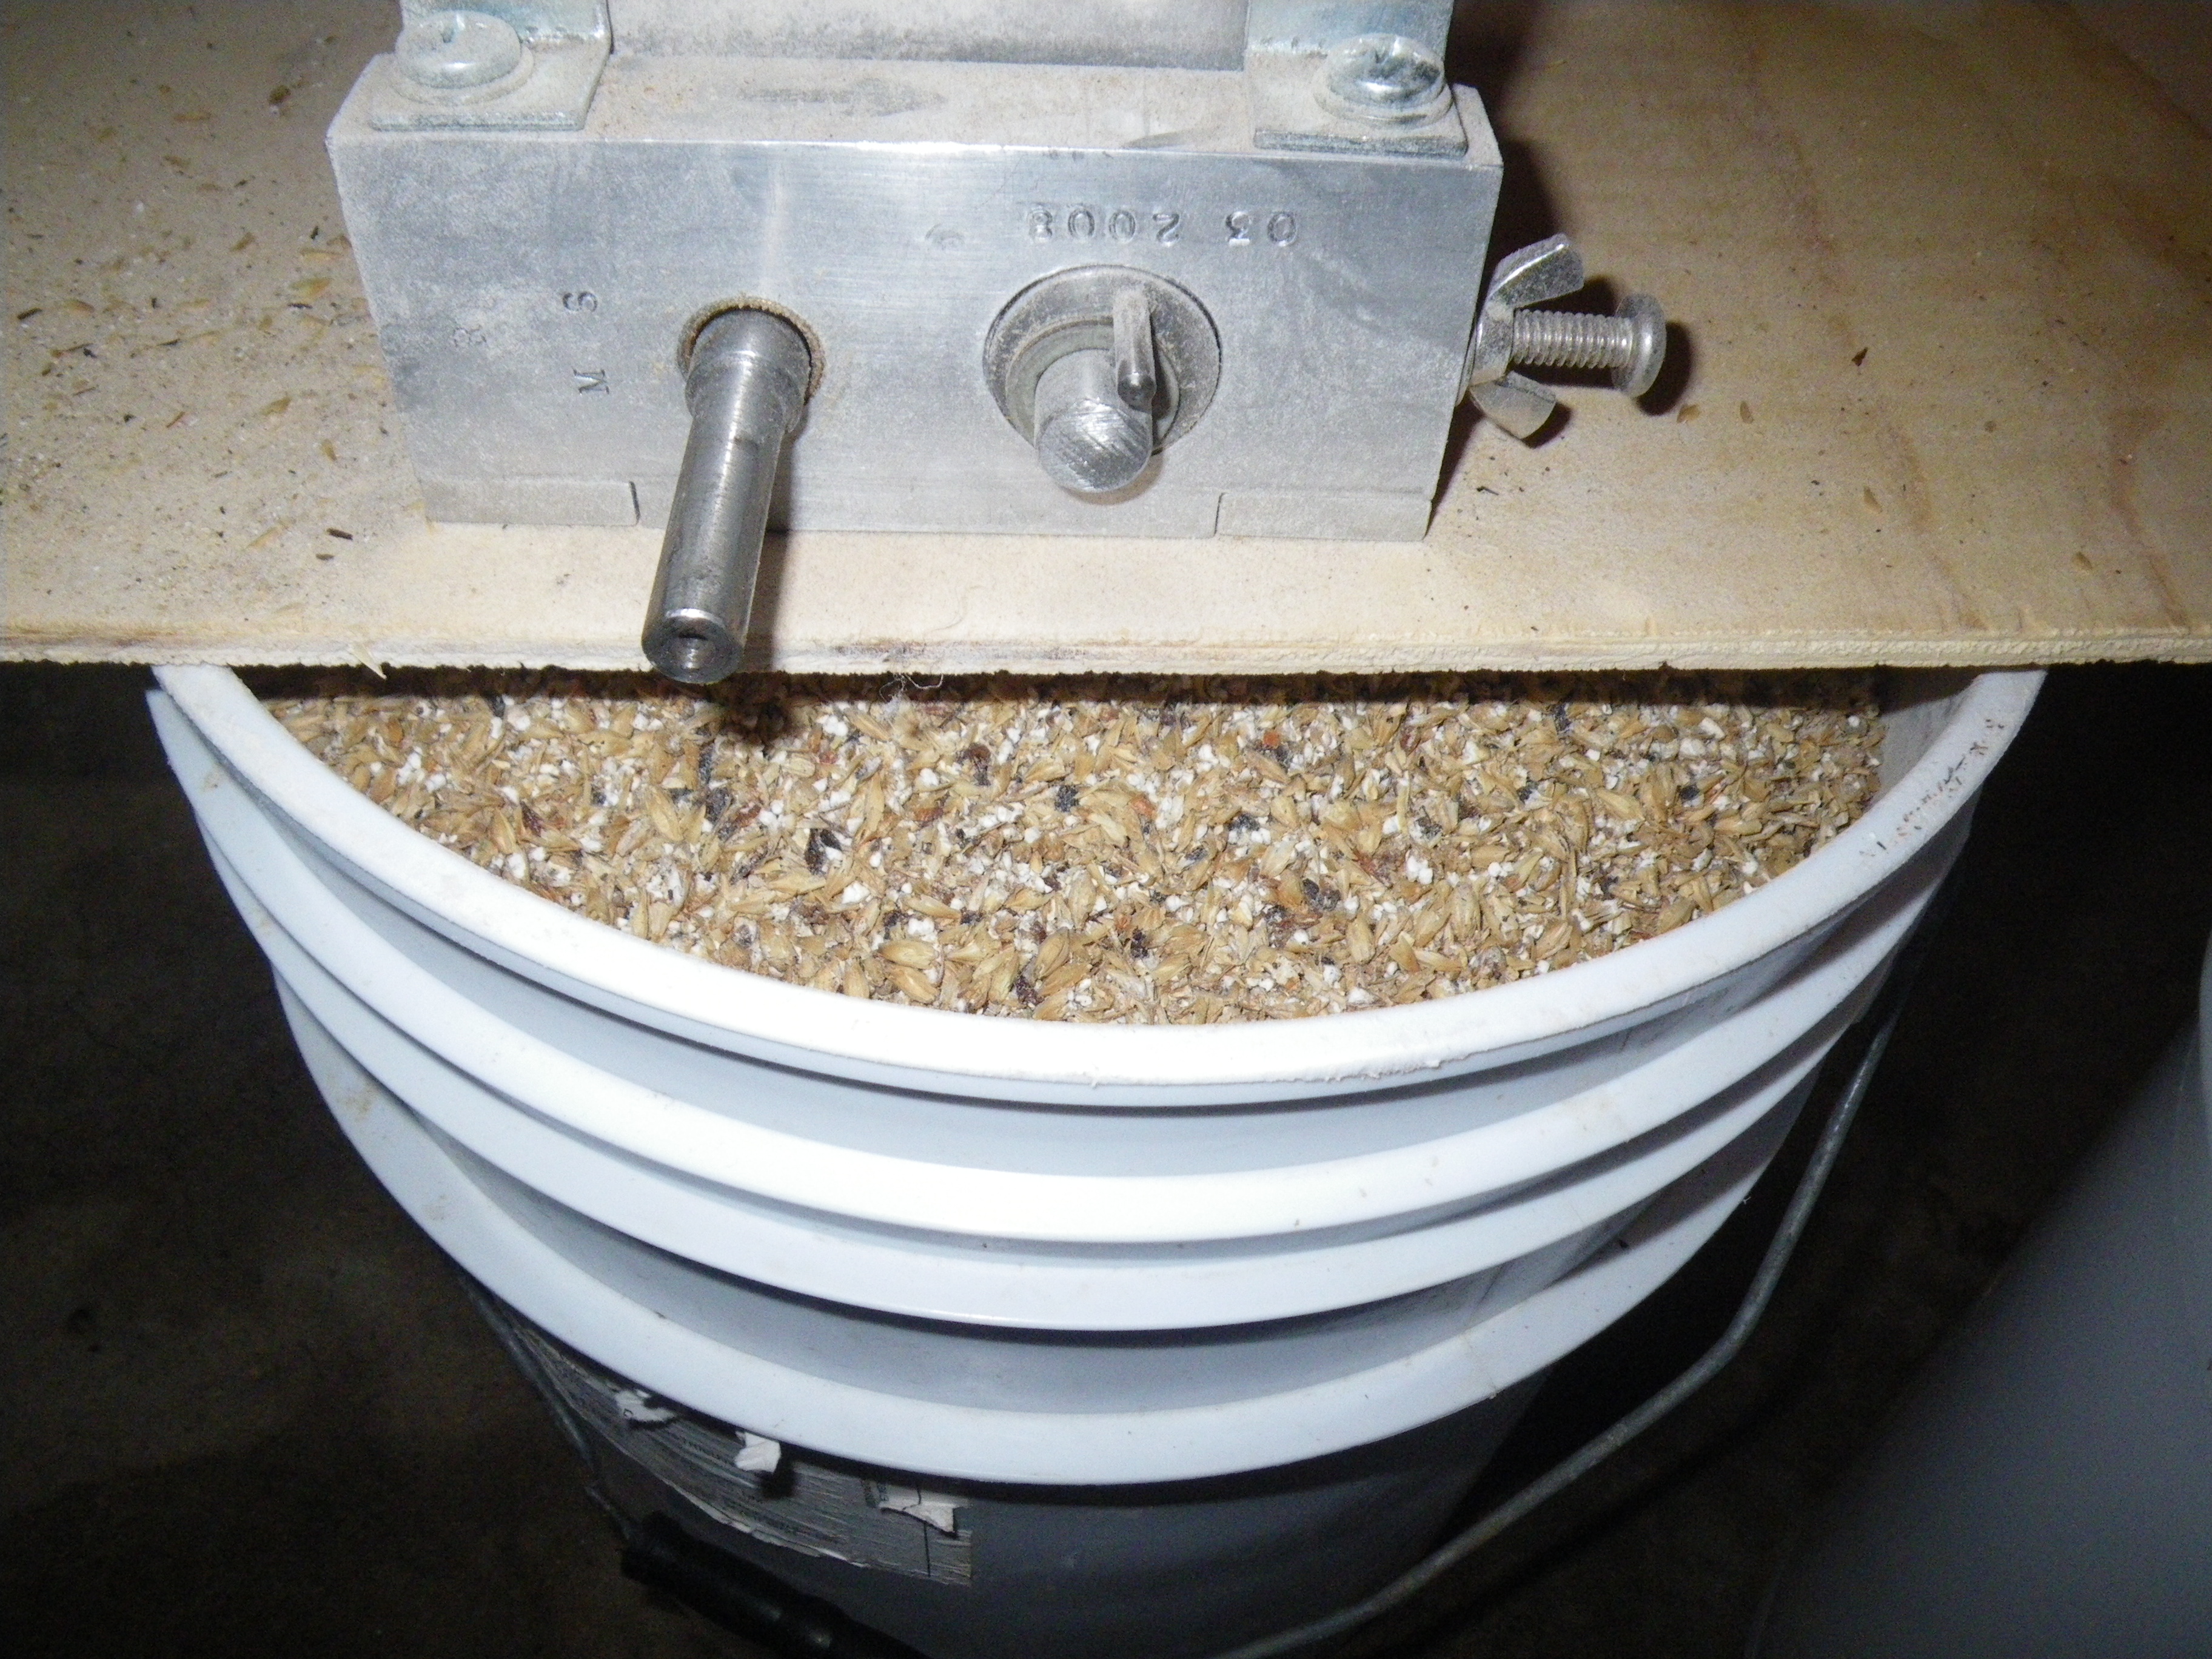
I lined a 20-quart stainless steel pot with a straining bag.

After chopping the rhubarb into approximately 1/2″ lengths, I realized he chunks were too large to allow all of the good flavors to make it into the water quickly. So I ran the rhubarb through the food processor with the steel blade attached, but stopped while there were decent-sized chunks.

I added all of the ingredients except the water, Campden tablet, nutrient and yeast inside the bag and stirred with a stainless steel spoon.

Holding back 2 cups of water, I added the remainder of the water to the kettle.

I added the yeast nutrient to 2 cups of water and heated in the microwave until boiling. I crushed the Campden tablet and added to the hot water, stirring until all material from yeast nutrient and Campden tablet were dissolved.

Placed lid on pot, with edge raised to allow off-gassing of Campden tablet.

Wait 24 hours, then pitched 1 packet of Montrachet yeast proofed in 1 cup warm water. Stirred must to incorporate yeast and continue mixing ingredients.

Stir daily for 1 week using a sanitized stainless steel spoon.

Squeeze the strainer bag to extract as much flavor and liquid as possible. Transfer to glass carboy for extended primary fermentation. I am at this stage as I write this article. I will have to follow up in a few months once I see how it turns out.

Rack as needed to clarify.

I plan to try some other fruit wines when I have the fruit & the time. What do you think of rhubarb wine? Let me know in the comments below.

The Best Beer I Made

A nice rolling boil going.I had two people highly prase this recipe. One was my father in law, who said something to the effec to, “I didn’t know a pale beer could have flavor.” The other was my brother, who said this was one of the best beers I had made yet. Both comments made me feel pretty good.

The recipe below is one I created on my own, after listening to an interview with Mitch Steele. talking about his new book about India Pale Ales. During the interview, Mitch talked about the fact that the earliest versions of IPA were brewed without crystal malts, so I developed this recipe using only base malts and the hops I had available.

This IPA may not be bitter enough for some of you, but I enjoy it. It has a balanced bitterness, with a strong hop flavor and aroma. The citrusy, grapefruit pith flavors are offset by the warm, bready malt flavors. There is enough sweetness to make a bomber go down easy.

Pouring this beer can be a bit of a challenge. The “problem” is the lingering head. This is an all-barley beer, so I can’t blame wheat malt or oats or any of the other grains usually used for head-retention. Nearly the consistency of whipped cream, the head keeps building after I stop pouring. Even with a really careful pour, I usually have to slurp foam from the top of the glass at least once during the pour.

And now, on to the recipe!

K.I.S.S. IPA (Keep it Simple, Superbrewers!)

Grain waiting for the mash so it can be turned into wort.Malt

25 lbs Rahr 2-row

3 lbs Vienna

3 lbs Munich

Hops

60 minute addition

2 oz Magnum – 13.5% AA

15 minute addition

1.3 oz Cascade – 4.6% AA

1.4 oz Centennial- 8.7% AA

0 minute addition

1.4 oz Centennial – 8.7% AA

1.2 oz Chinook – 11.7% AA

I mashed the grain at 150 degrees Fahrenheit for an hour, and batch sparged to reach a boil volume of 13 gallons. With boil off, I wound up transferring just over 11 gallons into my fermenter. I pitched 2 packets of Danstar/Lallemand Nottingham ale yeast.

Original Gravity: 1.062

Final Gravity: 1.008

Alcohol by Volume: 7.2%

I bottled this beer 1 week before our club competition in November. It did not have time for the yeast in the bottle to consume all the priming sugar, so it tasted a little weird. After an additional week in the bottle, it was so good I was disappointed every time I reached the bottom of my glass.

In fact, I blew through the entire 10 gallon batch by New Year’s. It was one of the beers that has been the most fun to share.

Biere de Garde

Mashing biere de garde, while enjoying some Lazy Monk dark lagerAs the second brew day in a row, this batch actually started last summer. One of my friends from my homebrew club started Lazy Monk Brewing. He gave me a recipe for a biere de garde as a possibility for one of his seasonal beers.

This last year was pretty crazy, so I hadn’t gotten around to brewing this recipe. We moved twice and it took a while to get settled into our new house. So, I figured I’d see how this recipe turned out.

Since the recipe was created by Leos, I figured the only appropriate beer to drink while brewing this recipe was his Bohemian Dark Lager. It started the brew day off on an awesome note and provided a relaxing background flavor to complement the fun of brewing a new recipe.

I’ve never had biere de garde, so I’m not sure what to expect in the finished product. It’s a lager fermented a little bit warm to contribute to the flavor. This batch, fermentation started at 59 degrees Fahrenheit and heat from fermentation rose the temperature to 61 degrees over the course of fermentation. I’m really looking forward to seeing how this turns out! The hydrometer sample tasted awesome, as did the sample at bottling time.

When you try a new recipe, do you first brew a smaller than normal batch to see if you like it or do you just go for it? So far, I just brew a full-sized batch and hope I like it. Let me know what works for you.

Biere de Garde

Grain bill

  • 9 kg Pilsner malt
  • 4.536 kg Munich II malt
  • 454 g Caravienne
  • 61 g black patent malt

Hops

  • 80 g UK Fuggles 5.0 % AA at 60 minutes

Adjunct

  • 2 pounds dark brown sugar added at 15 minutes for sanitization

Yeast

  • 2 packets Saflager S-23

Mash

  • Target mash temp: 147 degrees Fahrenheit (my mash came in hot at 153 degrees F)

Boil Volume: 14 gallons

Target Original Gravity: 1.074 (actual: 1.068)

Target Final Gravity: 1.019 (actual: 1.010)

Target Batch size: 12 gallons (actual: 11.5 gallons)

Boiled for 90 minutes, being really careful as the boil started. It was nerve-wracking with the wort so close to the top of the kettle.